|
Outline
This method repairs cosmetic defects or minor damage to an unsupported tooling or mounting hole. The hole may have component leads, wires, fasteners, pins, terminals, or other hardware run through it. This repair method uses high-strength epoxy to restore the damaged surface surrounding the hole. This method can be used on single-sided, double-sided, or multilayer circuit boards and assemblies.
|
|||||||||||||||||||||||||||||||||||||||
|
Procedure
Evaluation
|
|||||||||||||||||||||||||||||||||||||||
Images and Figures
Hole Repair, Epoxy Method
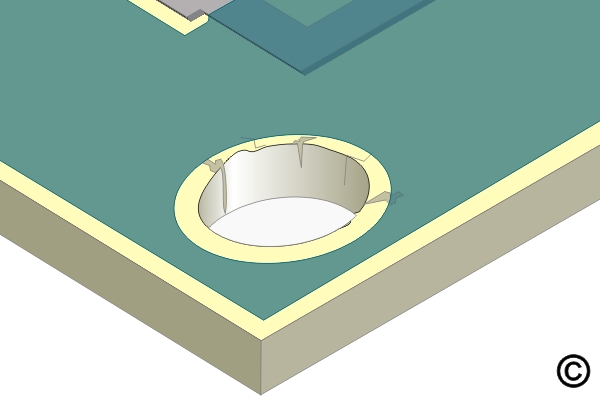
Figure 1. Damaged non-plated hole.
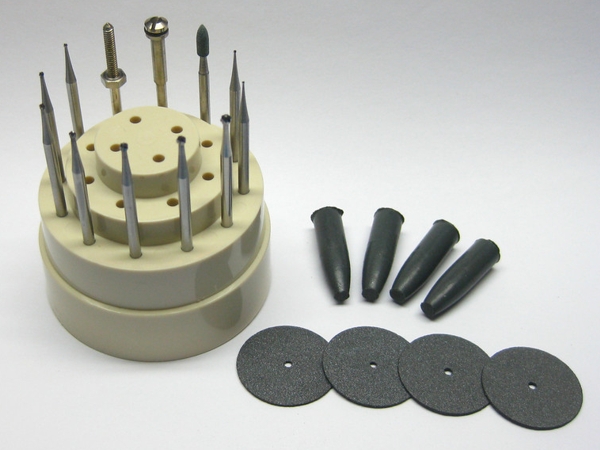
Figure 2. Mill away the damaged board base material using the Micro-Drill and ball mill.
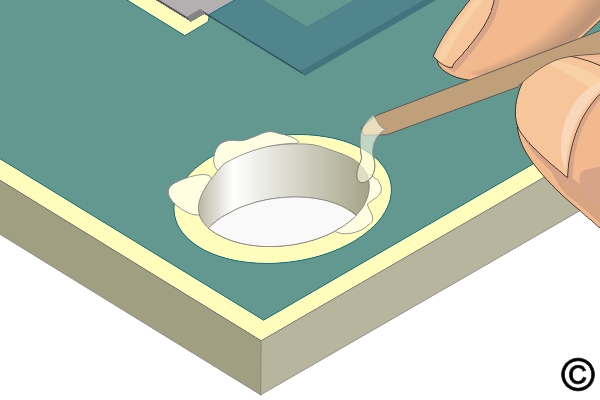
Figure 3. Mix the epoxy. If desired, add a color agent. Coat the area with epoxy up to and flush with the circuit board surface.
|
|||||||||||||||||||||||||||||||||||||||
3.3.1 Hole Repair, Epoxy Method
This procedure covers minor repair of non-plated holes on circuit board assemblies.
Minimum Skill Level: Advanced
Conformance Level: High
REQUEST FOR QUOTE GUIDES INDEX